


Thank you for your message. I will get back to you as soon as possible.
There is a problem in sending mail. Try again.
My Name is Mohamed Elsayed, I live in Cairo - Egypt.
I'm Muslim, I'm Married.
I was born in Sep 1987
I'm Web Developer.
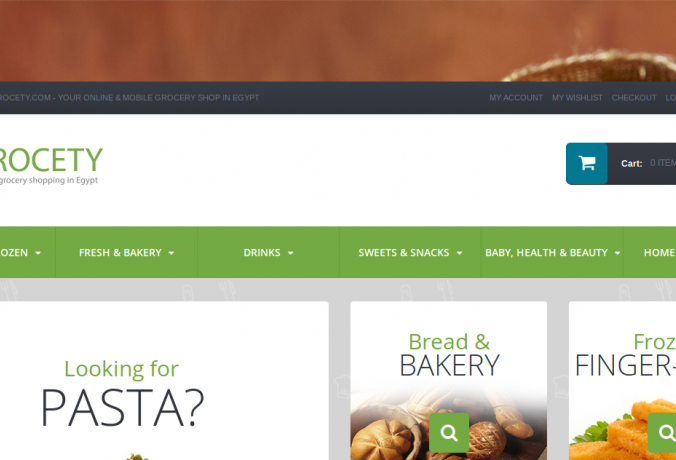
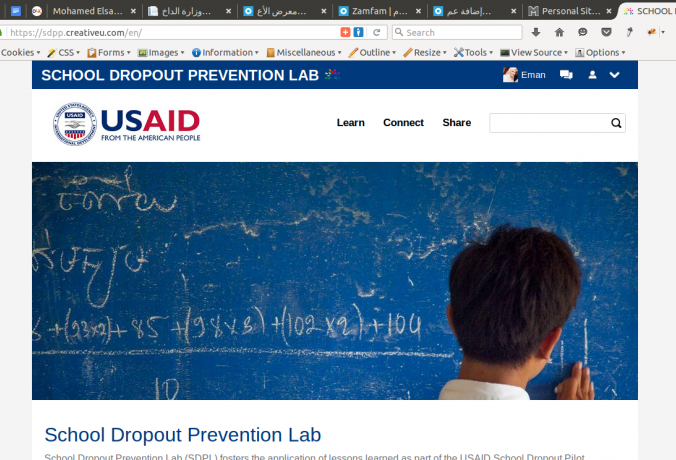
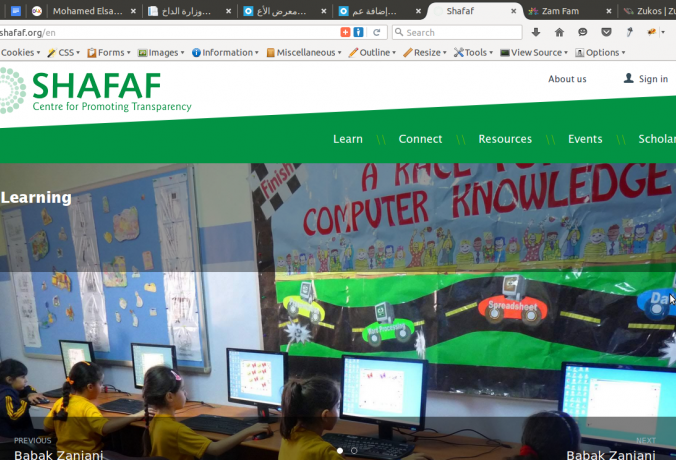
this is samples for my recent work
You can contact me via this form